Your wedding stationery suite is so important. It’s the first hint of what guests can expect from your wedding, and it helps create the aesthetic for your big day. This is why your wedding stationery suite should always match your vision. Working with a custom stationery designer means you can have the suite of your dreams. But you might be wondering what that process would entail and what the different steps are. Don’t worry. I’ve got you covered!
1) Inquire and Book a Meeting
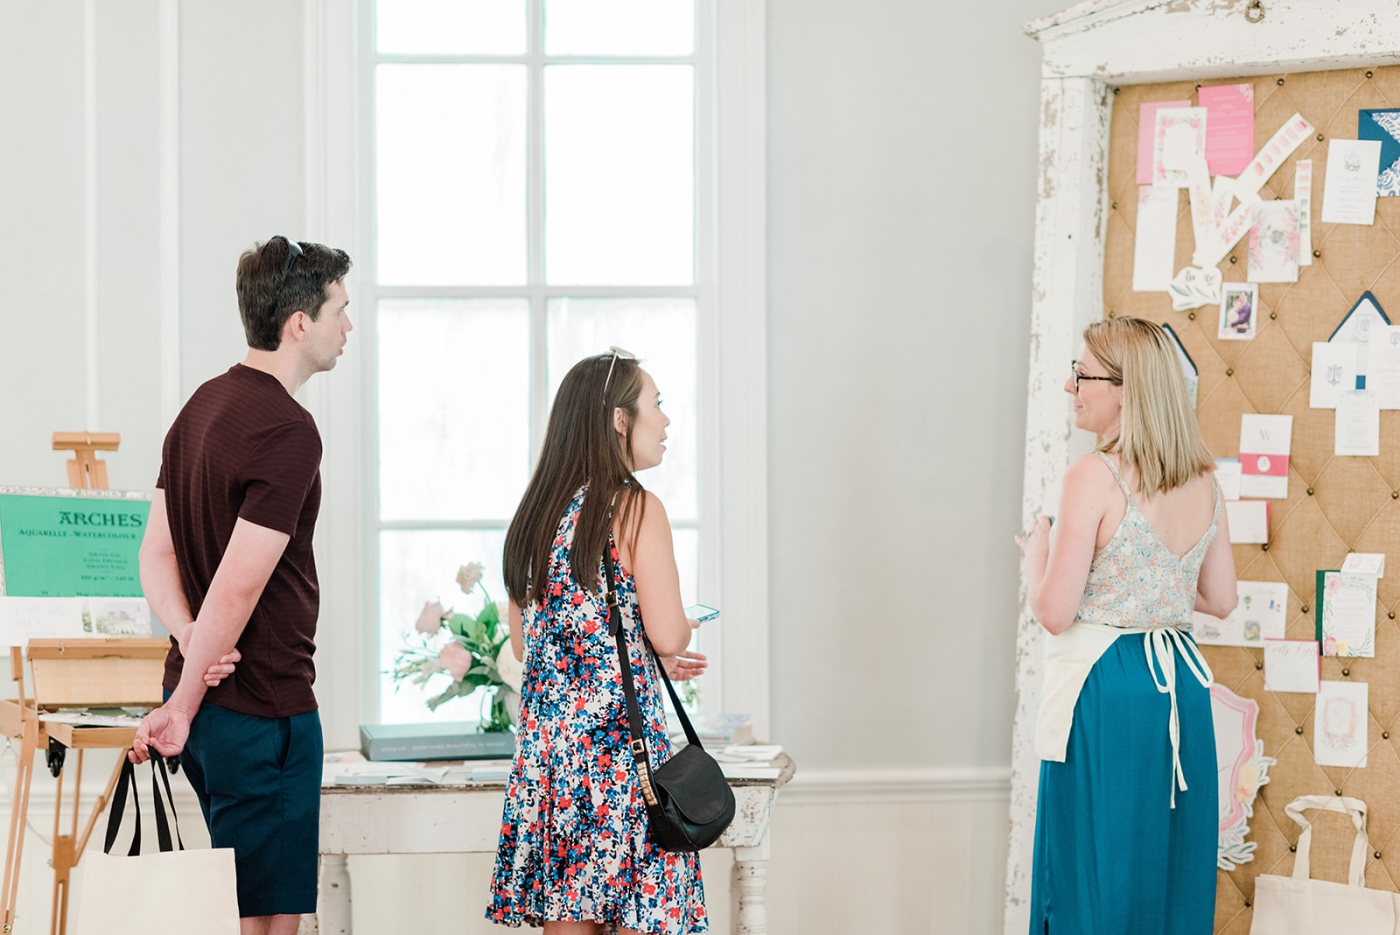
It can be as hands-on or as hands-off as you’d like! After filling out the initial inquiry form, we’ll discuss your vision, your goals, your budget, and your desired level of involvement in the process. You can share any vision boards or mood boards your planner or florist may have created as well as your Pinterest dreams! We can talk about what you like and dislike. Then, we can find ways to incorporate unique elements of your own love story into your wedding paper and day-of items like menus and favors.
I know my clients can be busy. So, whether you prefer to hop on a quick call and get it all laid out or if text and email is easier for you, it works for me. It’s my goal to make the process tailored to you, your vision, your unique needs and situation, and your budget every step of the way. I’ll dig into details with you like where you met, what the proposal was like, and what your biggest dreams are for your wedding day. Every one of these details are important when it comes to creating the perfect custom wedding invitations!
2) Proposal Time
Based on our initial conversations, I’ll pull together a proposal tailored just for you. Your proposal will be emailed to you for your review. Any documents, invoices, mood boards, or forms will always be sent via email and also reside inside of a personal Client Portal. This means you can see where we are in the process at any given time. You’ll also see a proposed timeline for the entire design process.
Keep in mind a proposal is simply a starting point. The benefit of working with a custom stationery designer is that we can tweak, add, remove, and change things to make it work for you.
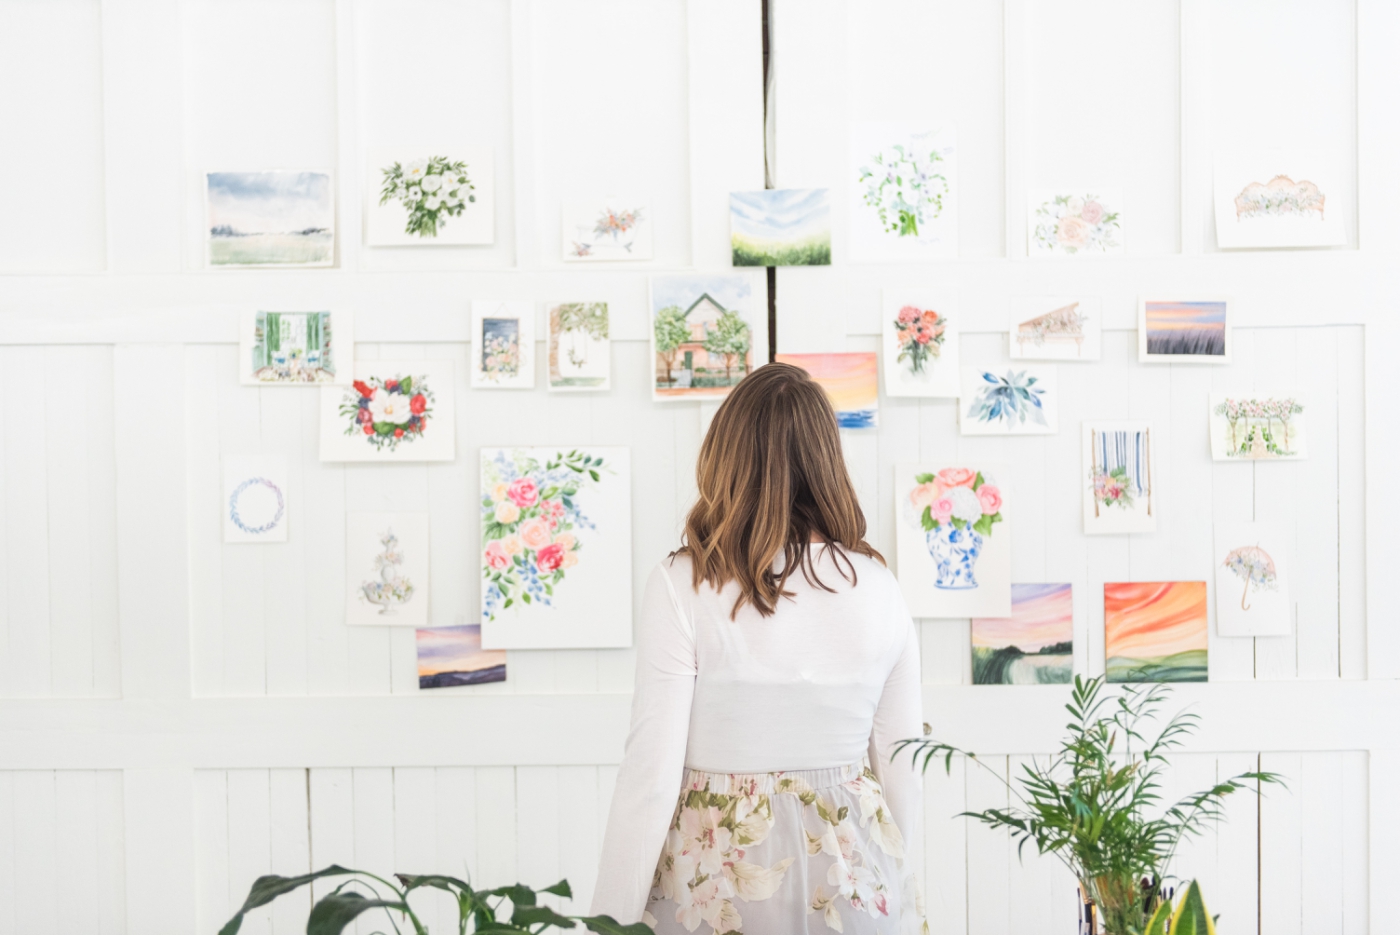
3) Booking
Once you’ve approved the proposal, you can place your deposit to reserve a spot on my calendar. I always recommend booking as soon as you are able. My calendar does fill up in advance, and I take on a limited number of fully custom clients each year. Even if you don’t have every detail set in stone, we can always tweak the final numbers up until the time of print. If you need to add or remove items or adjust quantities, we can do that. After you’ve placed your deposit, it’s time for the fun to begin!
4) Lookbook and Design
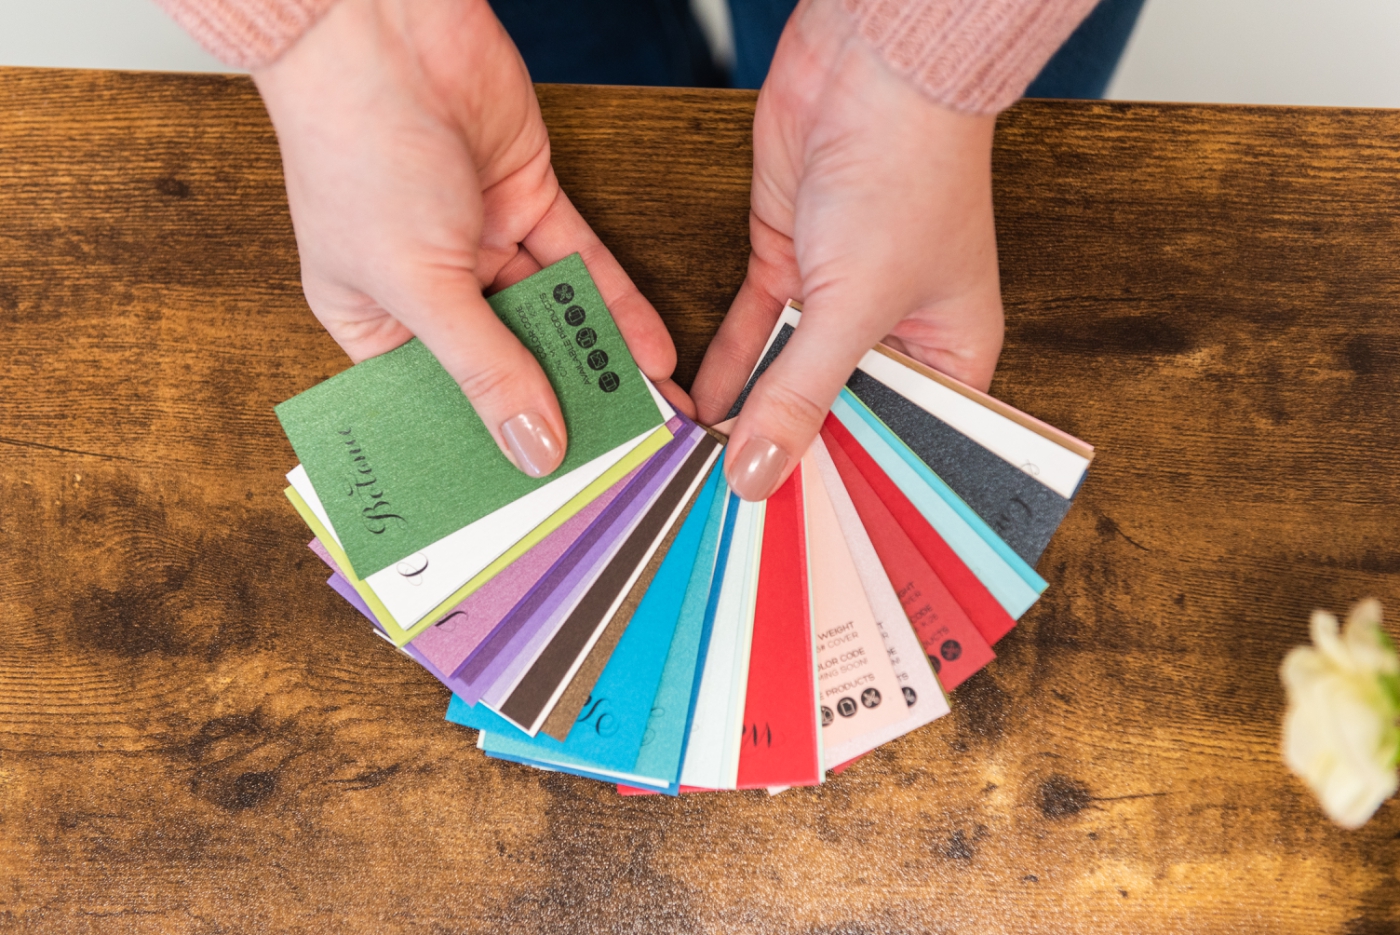
This is the best part of working with a custom stationery designer! Next, I’ll pull together a lookbook for your stationery. This will be based on the initial vision you shared with me and anything else you shared like photos or mood boards. Inside of this lookbook there will be a color palette, suggested materials, and a sketch of the design I have in mind. After receiving your feedback, I’ll revise the design if necessary and work with you until it’s just what you have in mind. Nine times out of ten, my clients are happy with the first round though. This is thanks to the level of detail we go into during the proposal process!
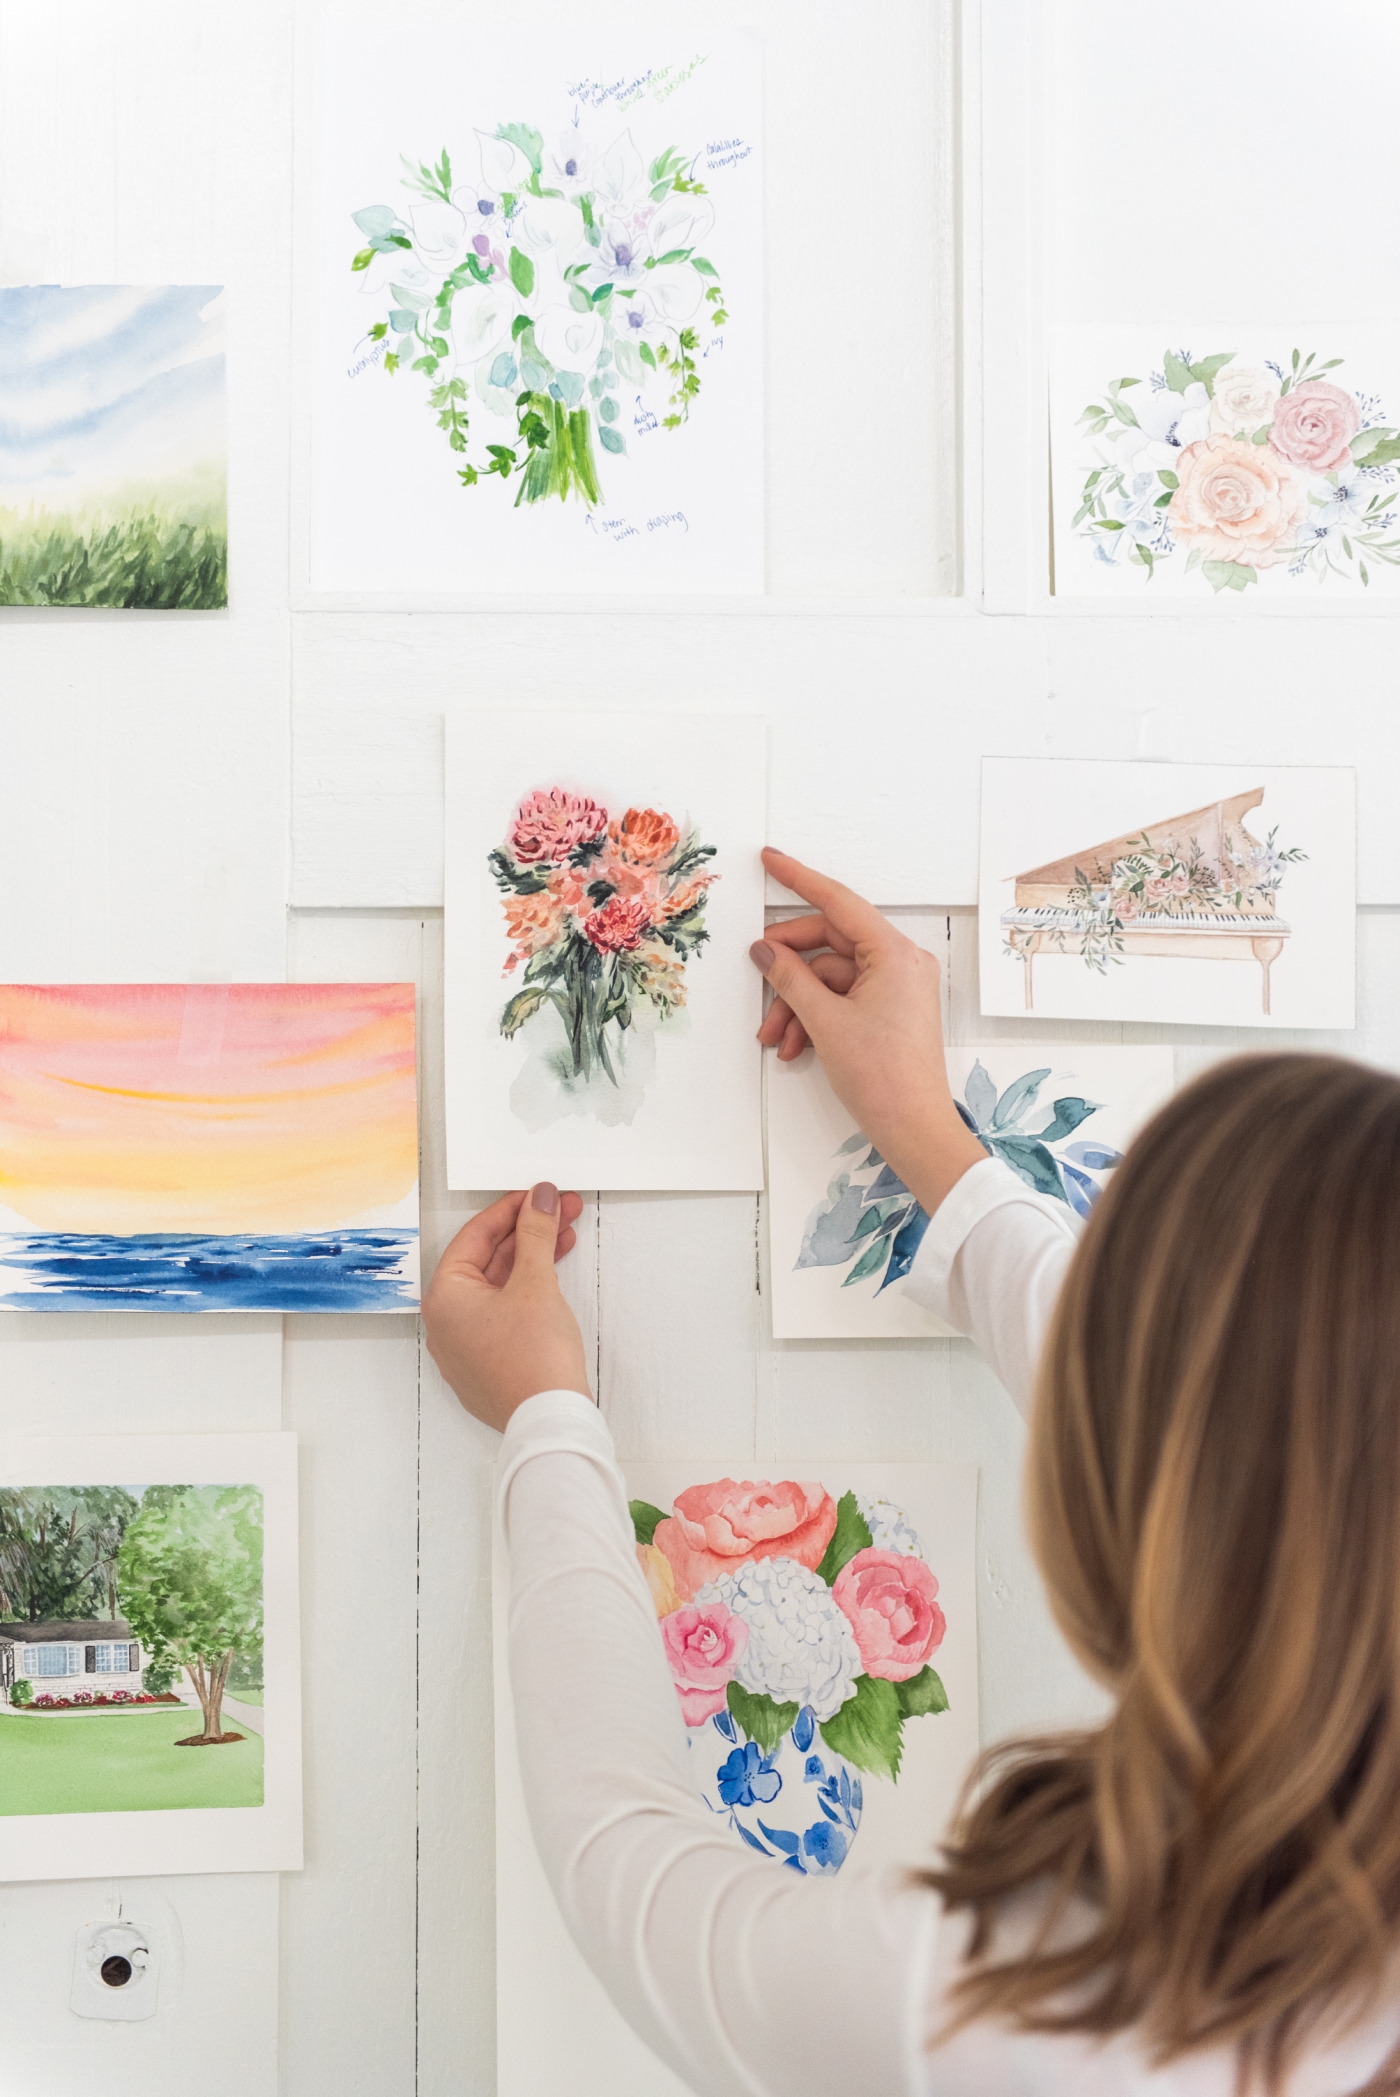
After you’ve approved the initial concept, I’ll get to work painting and creating custom watercolor elements and anything else you might have wanted for your design. This can include crests, monograms, portraits, and landscapes. The sky’s the limit! Once I’ve pulled the first design together, you’ll get a mockup (fancy word for realistic-looking digital picture) of your suite all put together. Again, at this point, you can provide direction and feedback for any revisions you’d like made. Once we’ve solidified your design and you’ve approved, it’s time for a print party!
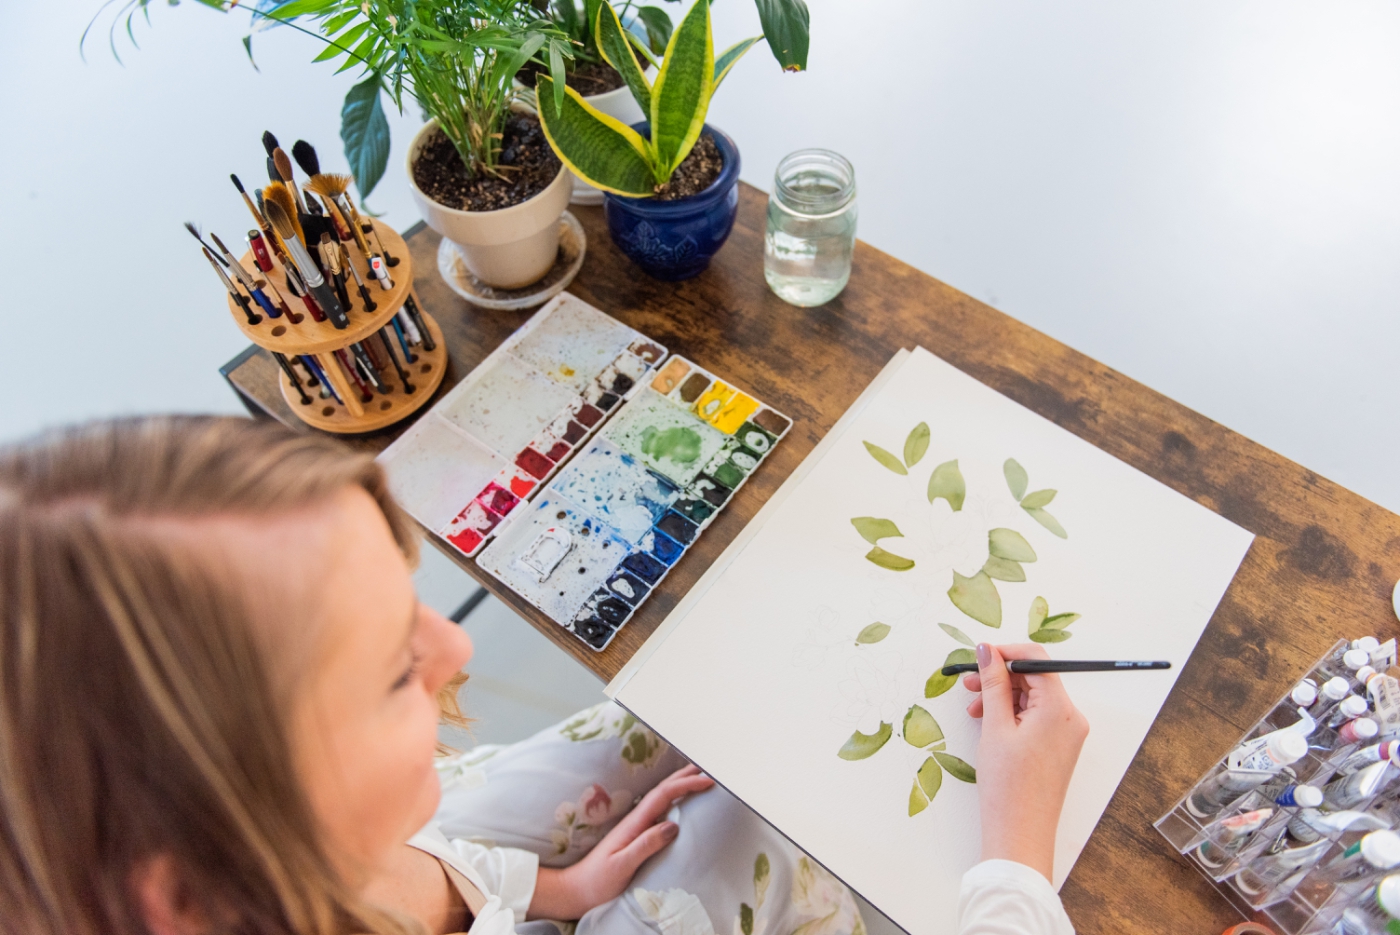
5) Print and Assemble
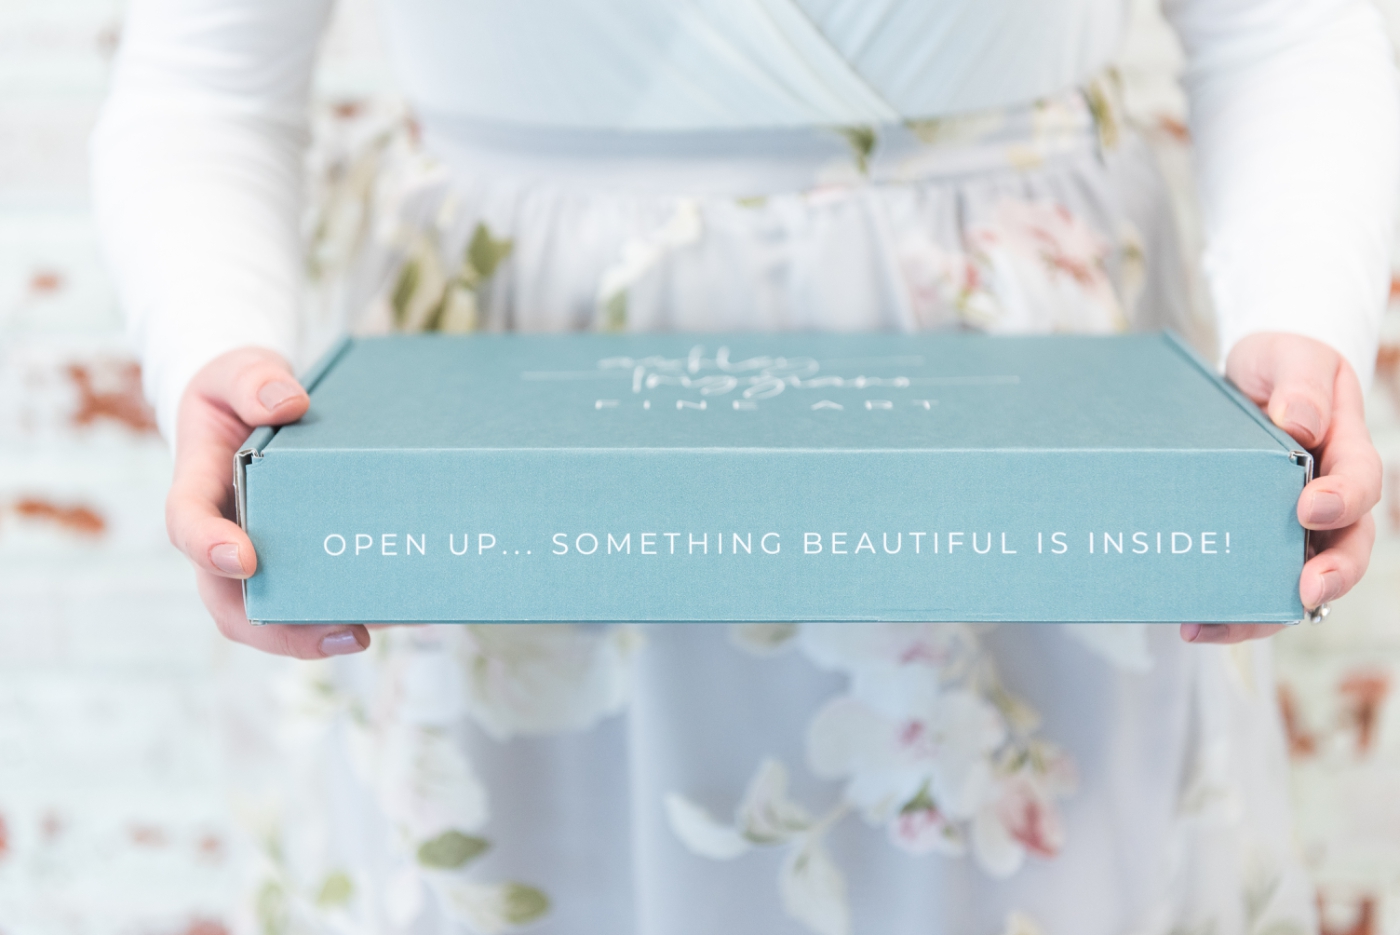
At this time, the final payment is due to release your files to print, and after 7-10 business days, you’ll have your wedding invitations in hand! If you added on wax seals, vintage stamps, ribbon, or vellum, I will assemble your invitations accordingly. Once complete, they will be sent to you for you to mail out. However, if you chose to skip the embellishments, you’ll receive the individual invitation items so you can stuff the envelopes, apply postage, and dress it up with add-ons yourself if you choose the DIY route!
6) Mail Time
If you chose to have me add any embellishments and apply postage, I can either take them to the post office to mail out for you or send them your way for you to see before taking them to the post office. Again, if you chose to assemble yourself, you’ll need to apply postage and take them to your local post office to be sent out. If you need it, I’m always happy to help provide recommendations and guidelines to make sure you’ve got enough postage to cover the weight!
7) Bask in compliments from your guests
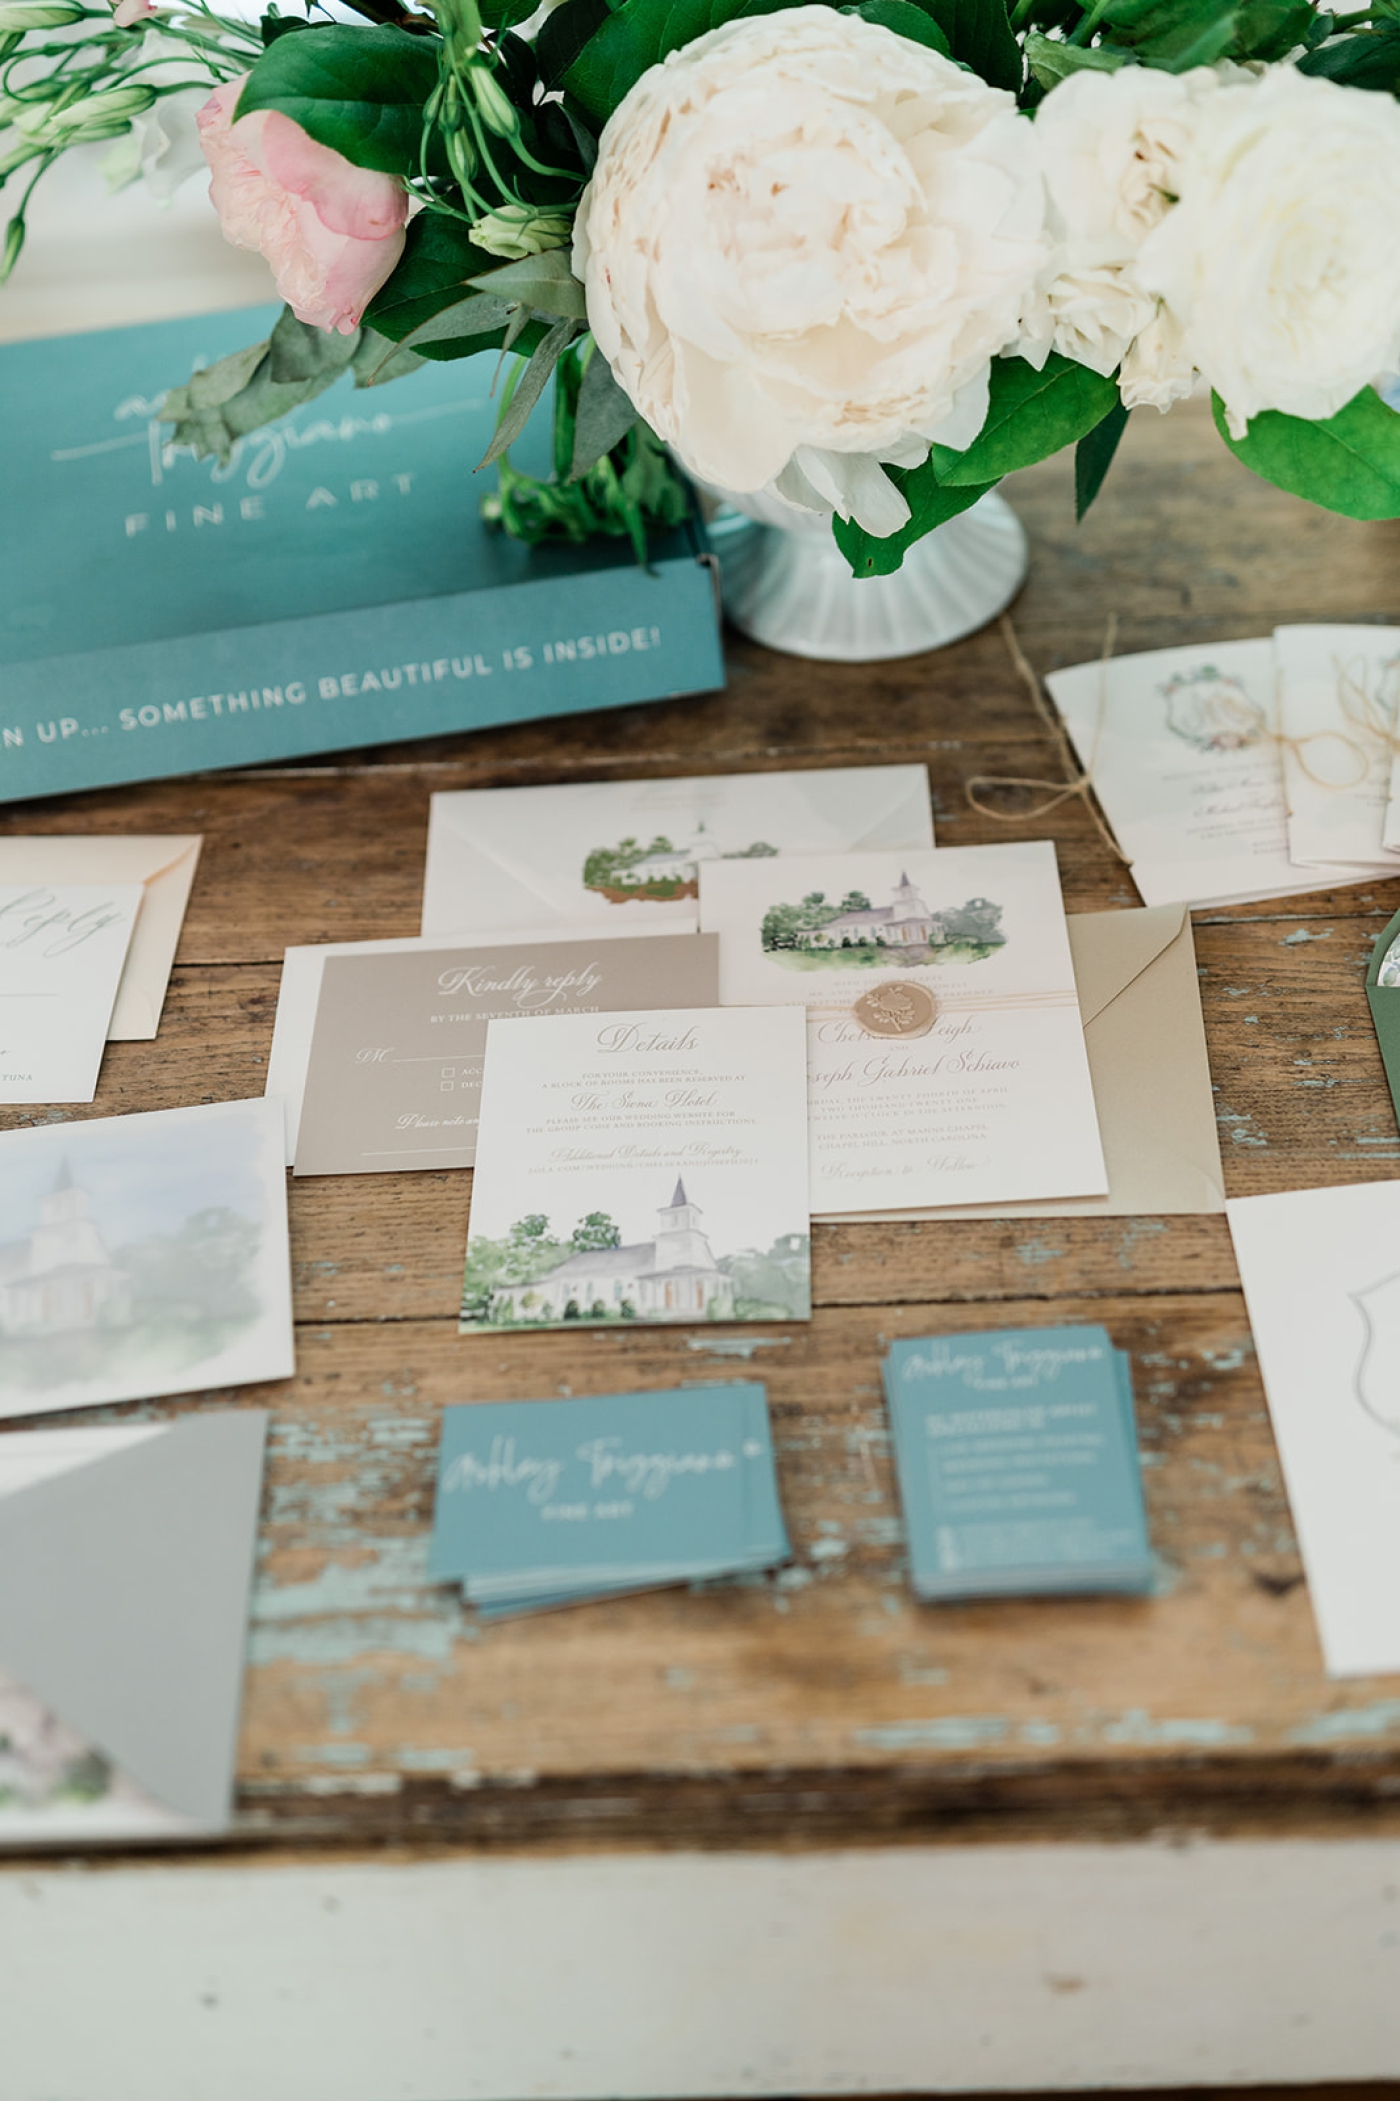
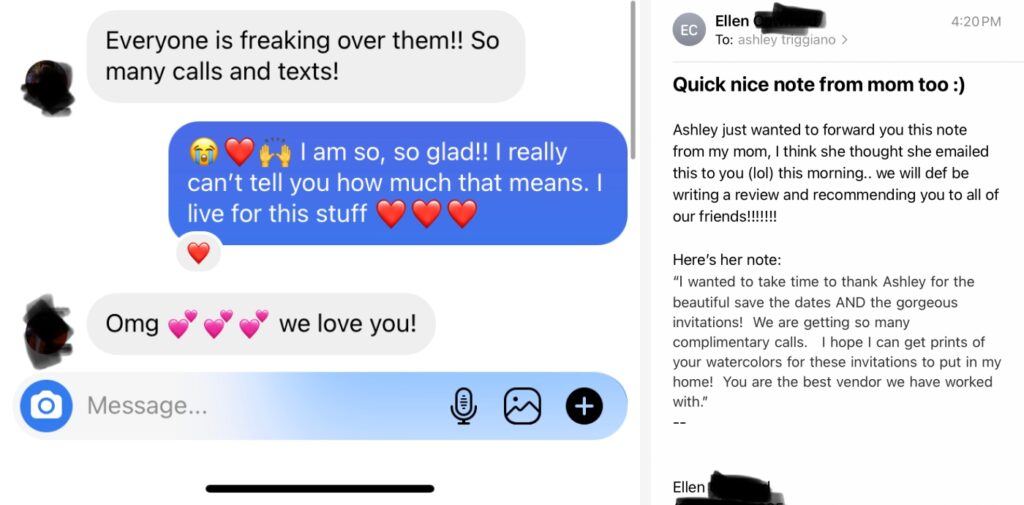
Guests love the intricate detail and hand-painted illustrations. I always hear from couples about all the compliments they get from their guests. Not tooting my own horn here – check out what past clients have said below!
Working with a custom stationery designer to create personalized stationery is such a great way to set the vibe for your wedding. It gives your guests a glimpse into your special day. It also gives you a gorgeous heirloom that you can keep for years to come. I’d love to hear all about your love story and learn how I can deliver your ideal wedding suite!
